







White Glove Appliance Service
Dryer Heating Element Not Working
How our technicians restore full drying performance.
Dryer Heating Element Not Working? Here's What Our Technicians Do to Fix It
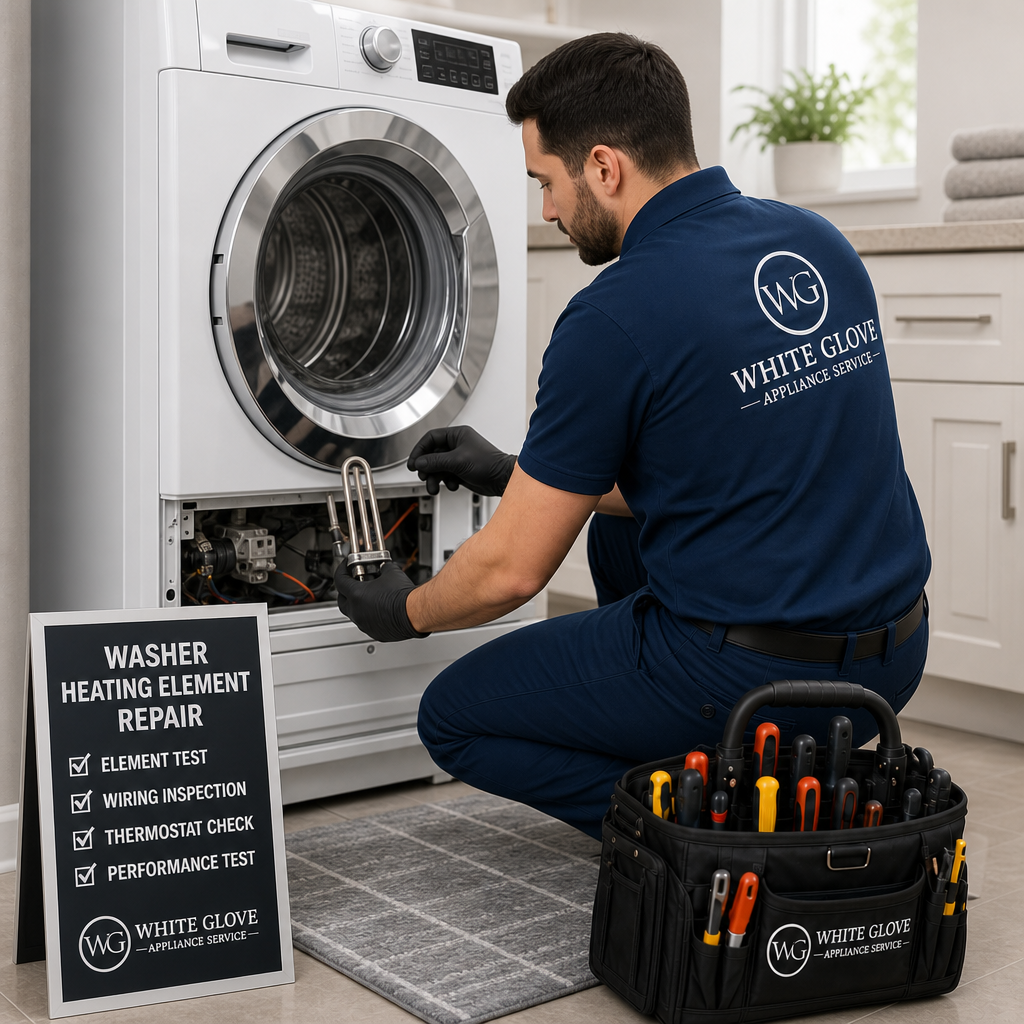
When your dryer runs but produces no heat, the heating element is almost always the culprit. A failed heating element means wet clothes stay wet, no matter how many cycles you run. At White Glove Appliance Service, our certified technicians diagnose and replace heating elements with precision — restoring full drying performance quickly and safely.
Understanding the Dryer Heating Element
The heating element is a coiled wire that generates the heat your dryer needs to dry clothes. When electricity passes through the coil, it heats up and warms the air drawn into the drum. Over time, the coil can burn out, break, or short — leaving your dryer blowing cold or lukewarm air.
Common Signs Your Heating Element Has Failed
Watch for these warning signs:
- Dryer runs but clothes remain wet or damp
- No heat or very little warmth inside the drum
- Dryer takes multiple cycles to dry a single load
- Burning smell during operation
- Heating stops mid-cycle
- Visible breaks or sagging in the element coil
While a blown thermal fuse or faulty thermostat can produce similar symptoms, a failed heating element is the most common cause — and requires immediate professional attention.
Step 1: Professional Diagnosis
Our technician begins with a thorough inspection:
- Visual inspection for breaks or burn marks
- Multimeter continuity test
- Thermal fuse and thermostat checks
- Airflow and vent inspection
- Control board review
Accurate diagnosis prevents unnecessary part replacements and ensures the root cause is fully resolved.
Step 2: Locating and Accessing the Heating Element
Access varies by dryer model:
- Rear-access models: back panel removed
- Front-access models: front panel and drum removed
- Side-panel models: cabinet disassembly
- All wiring harnesses labeled before removal
- Photographs taken for accurate reassembly
Our technicians are trained on Whirlpool, GE, Samsung, LG, Maytag, Kenmore, Electrolux, and more.
Step 3: Selecting the Correct Replacement Element
- OEM or manufacturer-approved elements
- Exact wattage and voltage match
- Correct coil shape and housing dimensions
- Compatible thermal cutout and high-limit thermostat
- Verified model number compatibility
We never use cheap generic coils. Precision parts mean long-lasting repairs.
Step 4: Installing the New Heating Element
Installation is performed carefully:
- Old element removed and inspected
- New coil seated properly into housing
- All wiring connections secured
- Thermal fuse replaced if blown
- Cabinet and drum reassembled correctly
- All screws and clips torqued properly
A rushed installation can create loose connections, fire risks, or recurring failures.
Step 5: Final Testing and Safety Verification
Before leaving your home, we perform:
- Live heat test
- Thermostat cycling test
- Full drying cycle test
- Vent airflow check
- Safety check for smells, sounds, or error codes
- Customer care and maintenance tips
Only when the dryer reaches proper heat and completes a full cycle without issue do we consider the repair complete.
Why Choose White Glove Appliance Service?
A properly replaced heating element will:
- Restore full drying performance
- Reduce energy waste
- Eliminate safety risks
- Extend dryer lifespan
- Prevent costly appliance replacement
If your dryer is not heating, don't wait. A failed heating element only gets worse — and can damage other components.
Is Your Dryer Not Heating?
We provide same-day and next-day dryer repair across our service area.
Need Help?
Request Your Service
Factory-trained technicians covering South Florida.